9.29.2010

Raspberry Streusel Bars


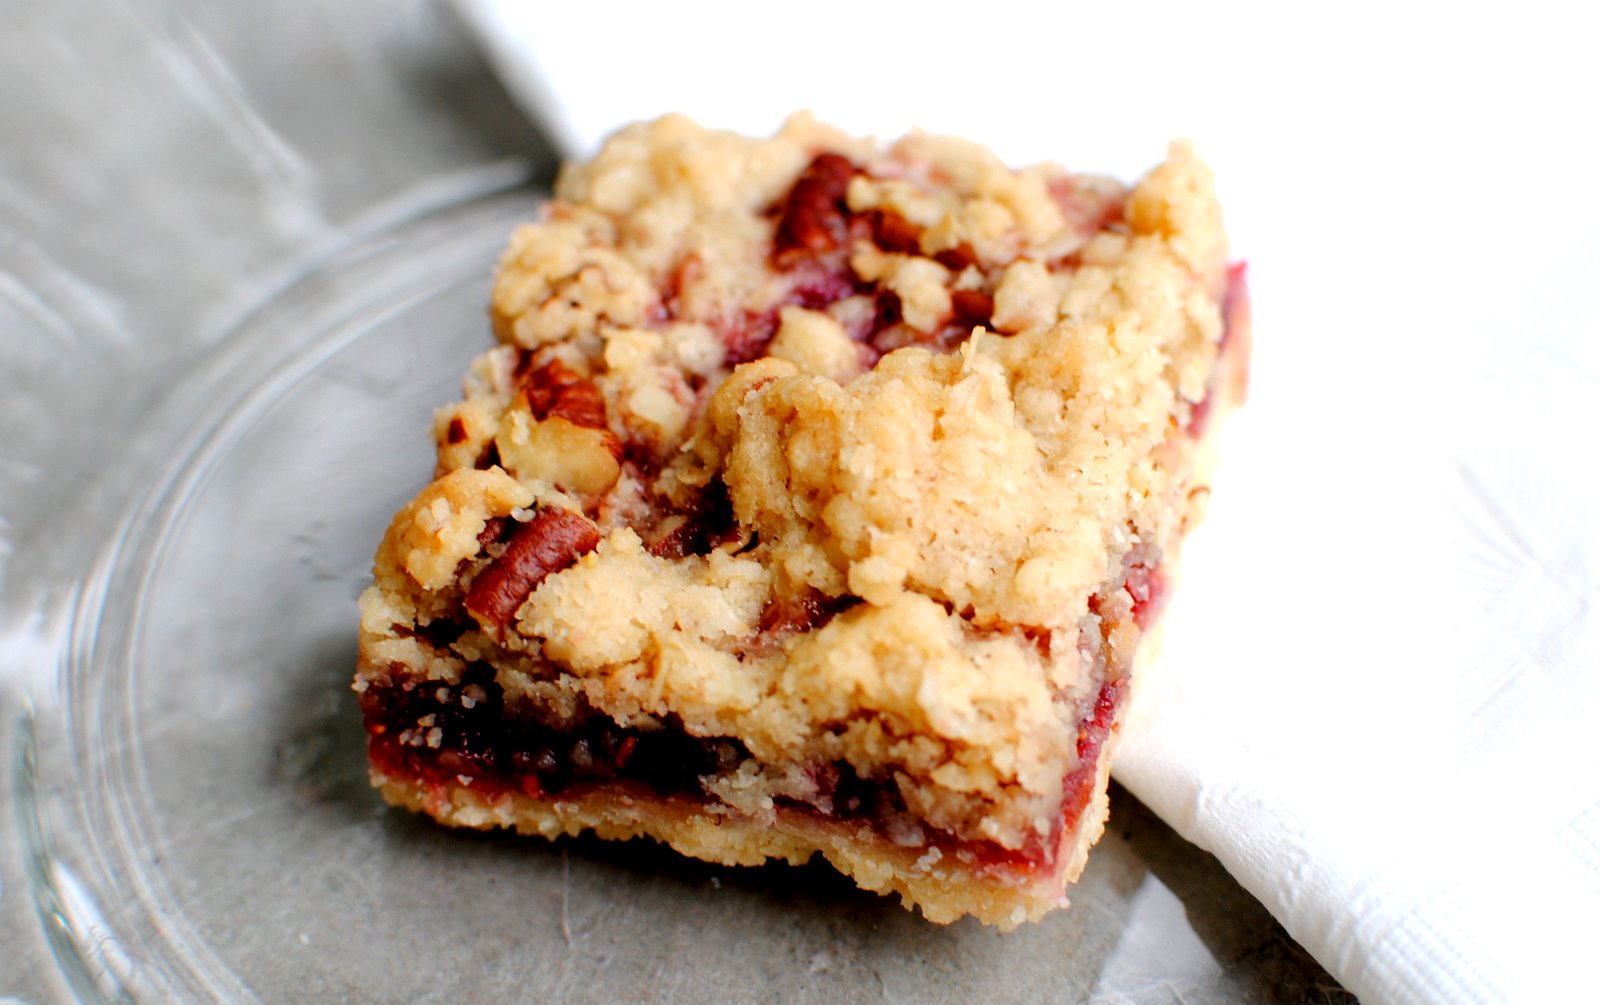
Today, Raspberry Streusel Bars were served for dessert at the Wednesday Noon Service lunch. Since my church is located in the heart of downtown Savannah, tourists often walk into the service and stay for the meal. This wonderful fruit bar was well liked by all.

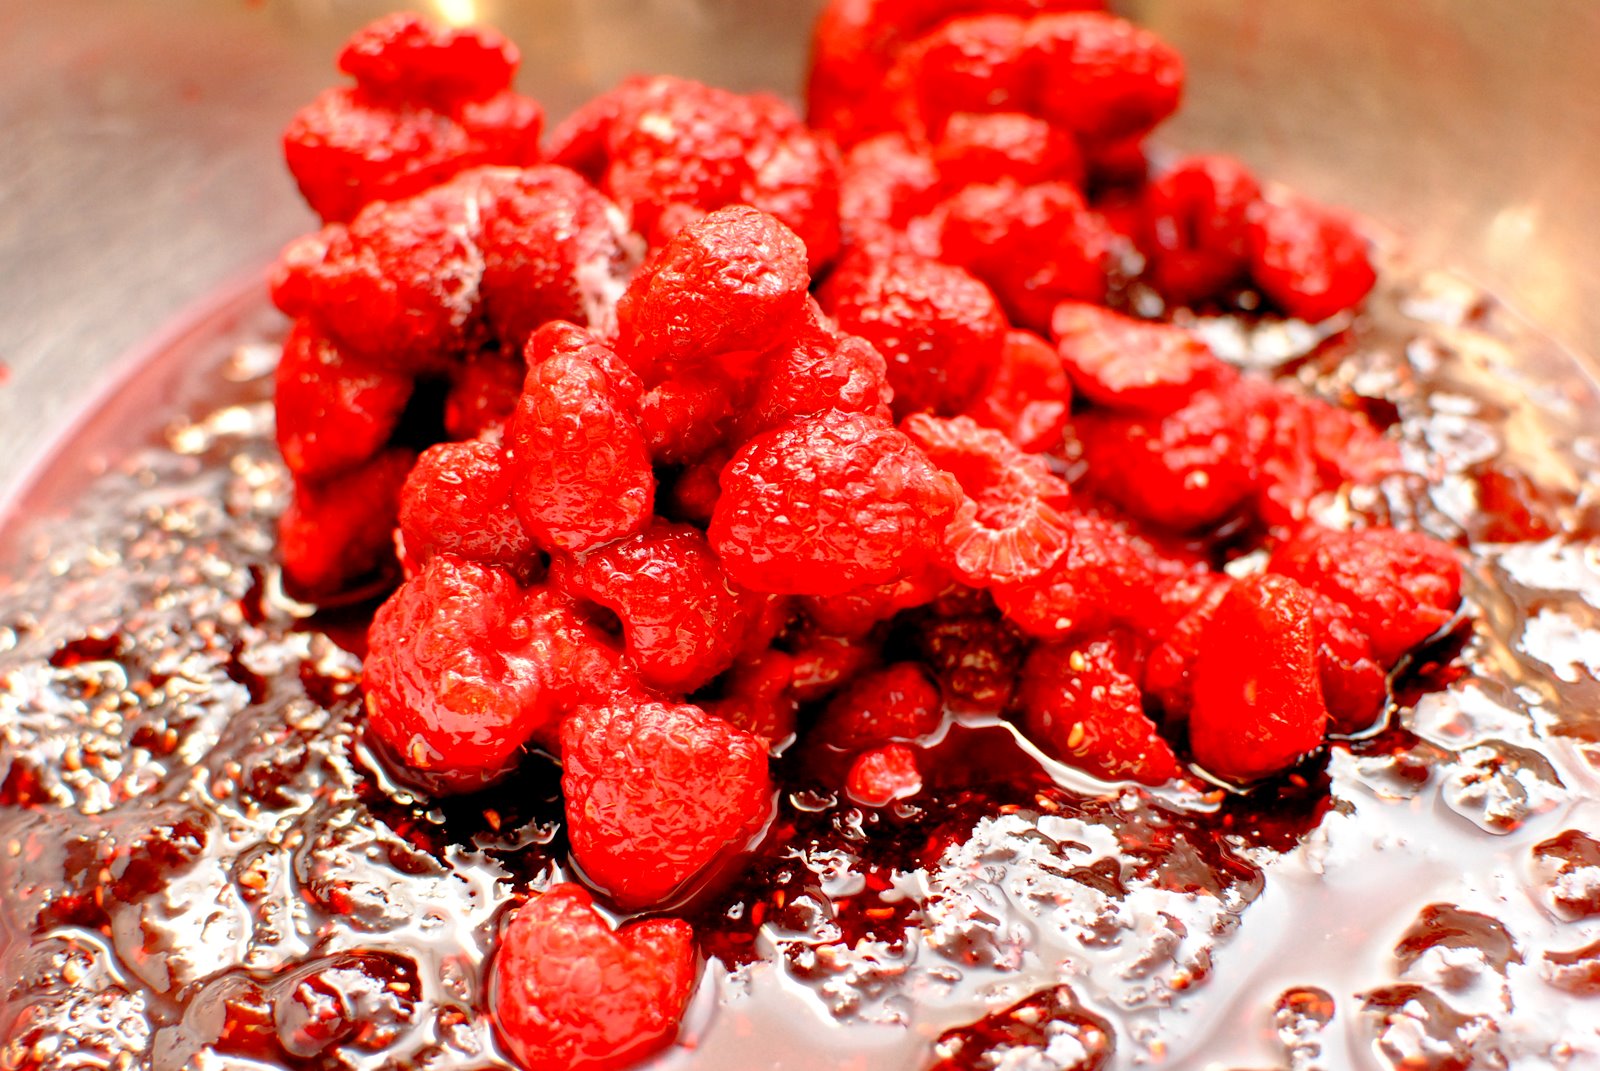
Fresh or frozen raspberries can be used for the filling.

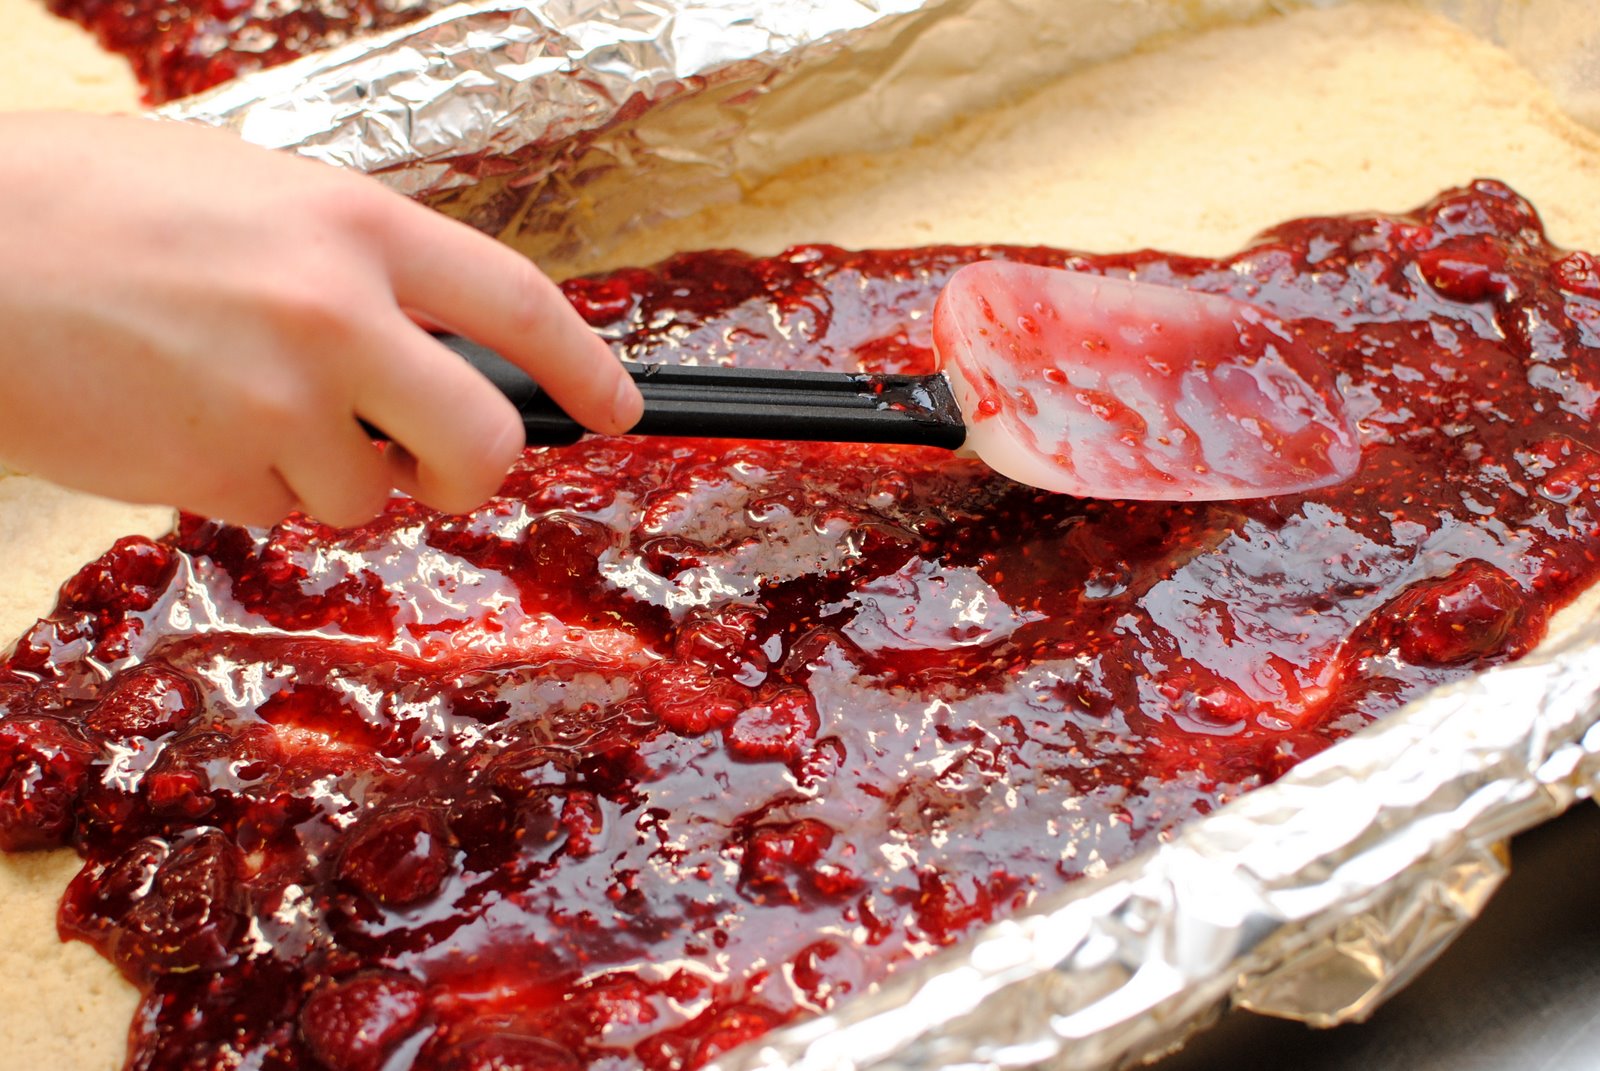
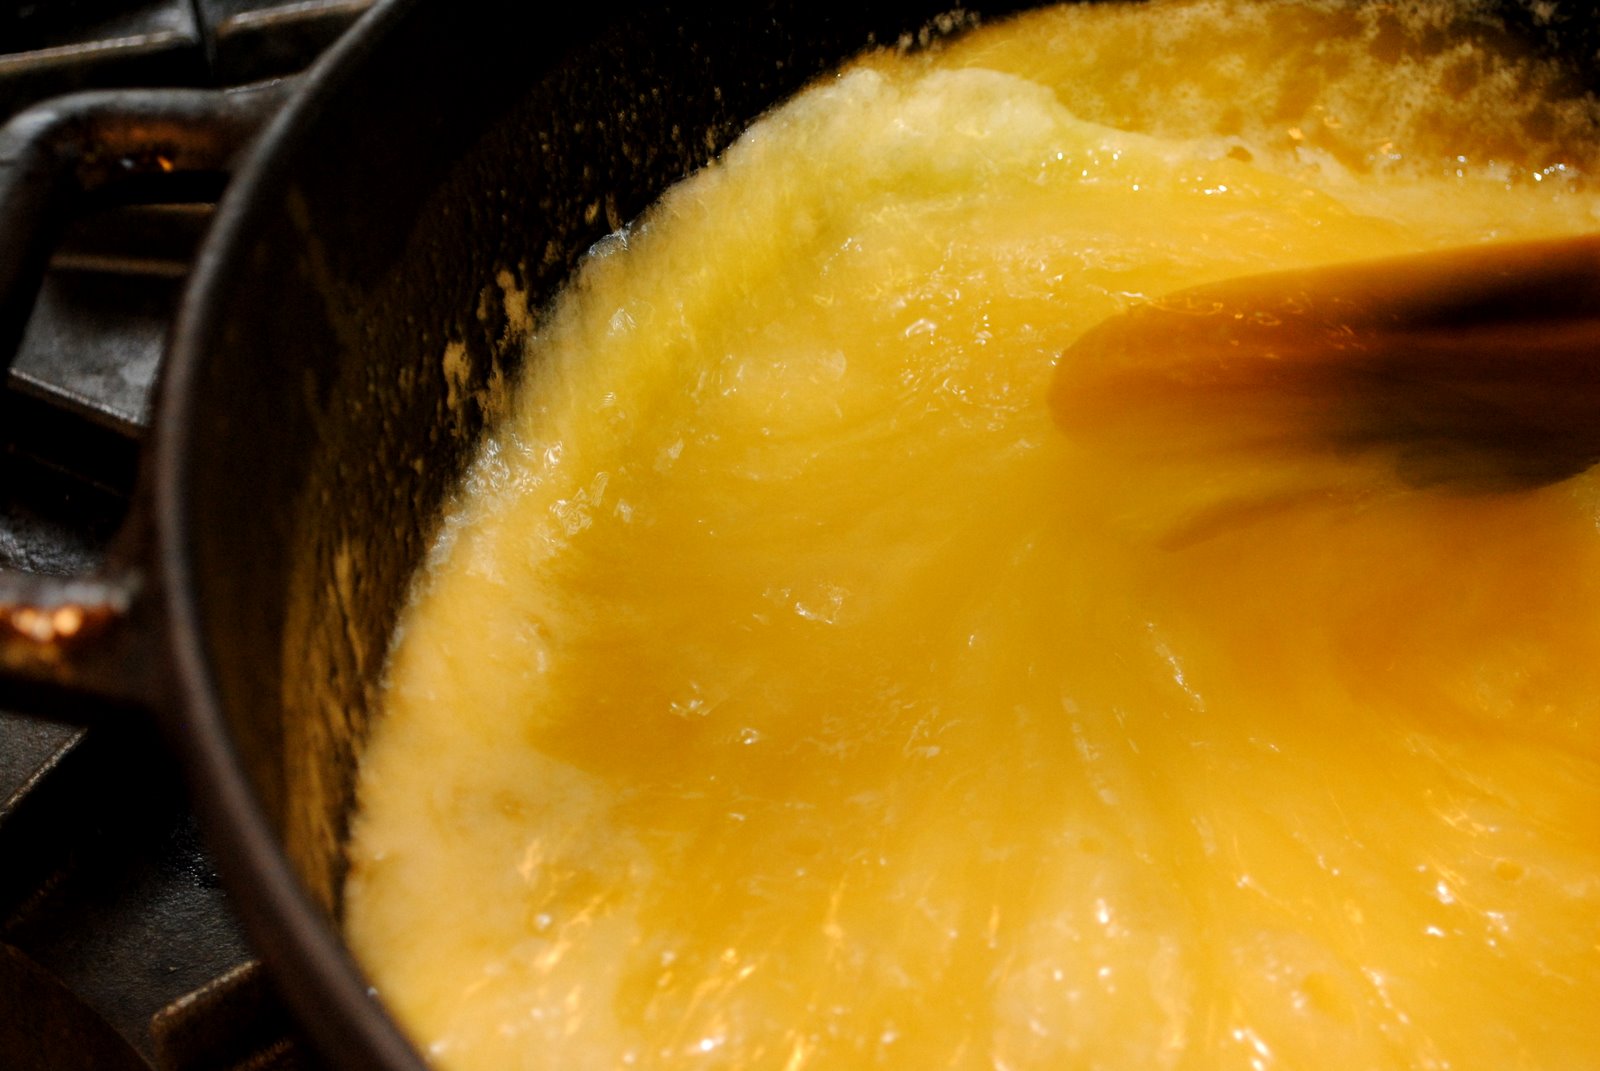
Raspberry filling is spread on a hot shortcake crust.

Streusel topping is generously added. Do not press the topping.

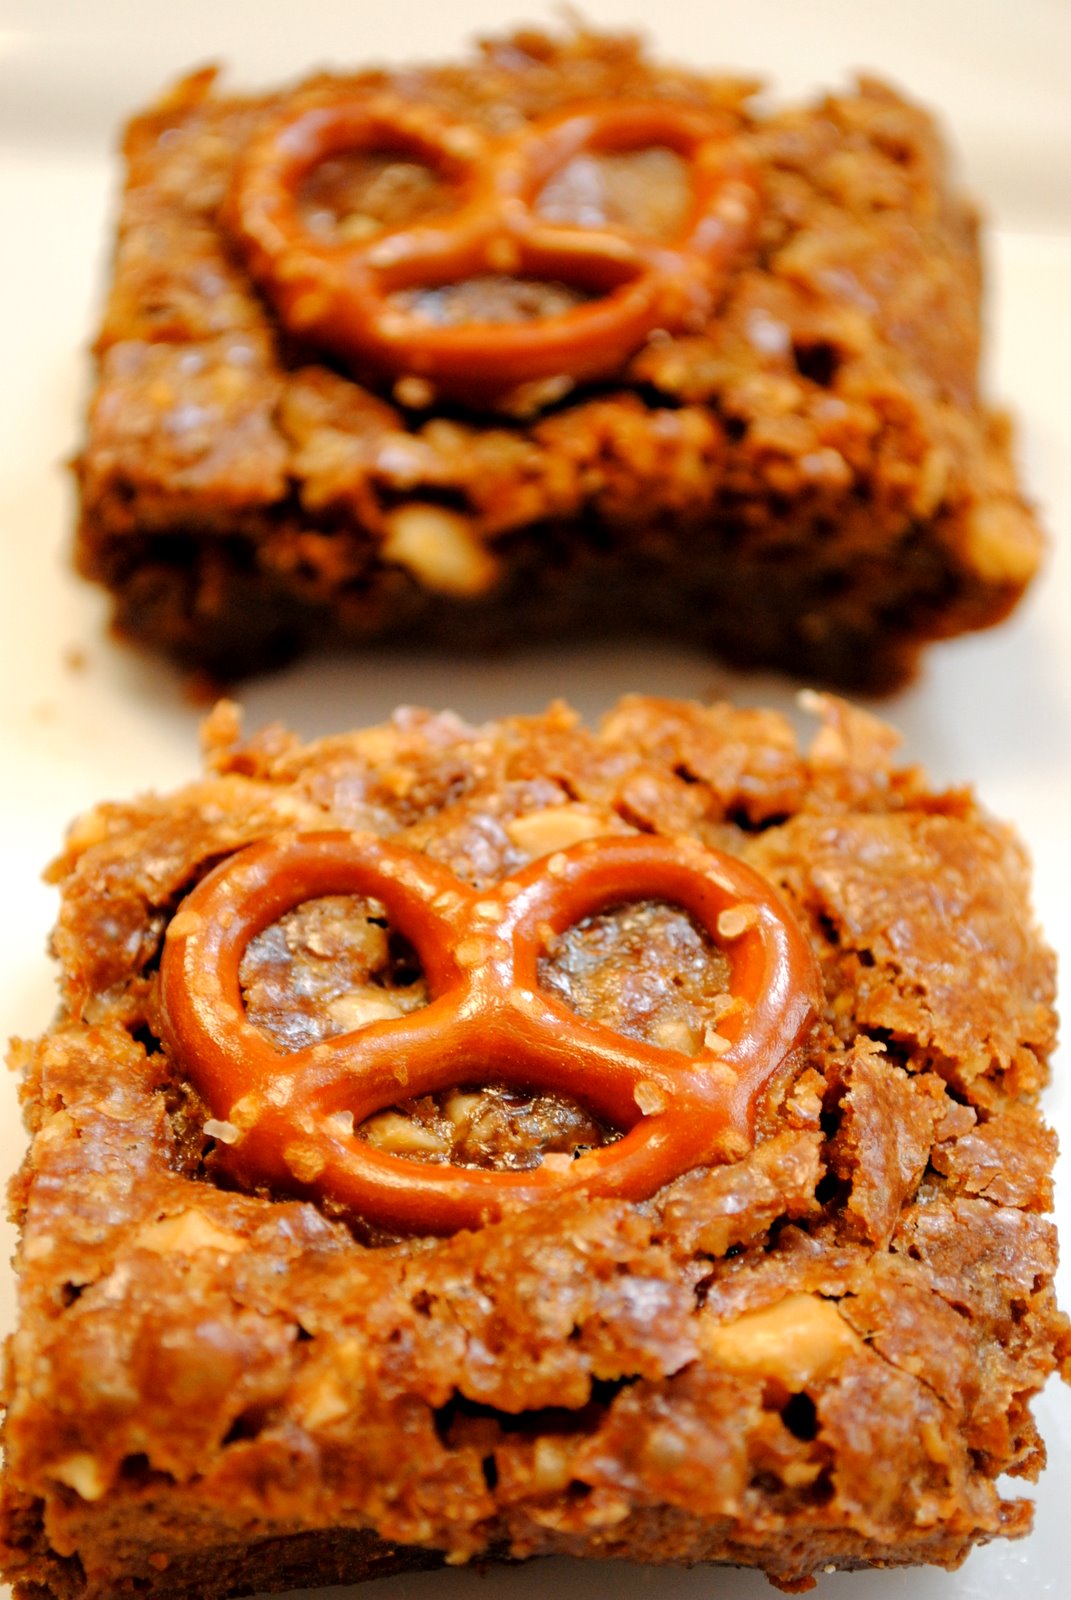
Out of the oven emerges sweet and sour raspberry bars with buttery streusel topping.

Print This Recipe

Raspberry Streusel Bars
Recipe Adapted From Cooks Illustrated

2 1/2 cups unbleached all-purpose flour (12 1/2 ounces)
2/3 cup granulated sugar (about 4 3/4 ounces)
1/2 teaspoon table salt
16 tablespoons unsalted butter (2 sticks, 8 oz) plus 2 tablespoons (1 oz), cut into 1/2-inch pieces and softened to cool room temperature
1/4 cup packed brown sugar (1 3/4 ounces), light or dark
1/2 cup rolled oats (1 1/2 ounces), old-fashioned
1/2 cup pecans (2 ounces), chopped fine
3/4 cup raspberry preserves (8 1/2 ounces)
3/4 cup fresh raspberries (3 1/2 ounces), if using frozen, thaw
1 tablespoon lemon juice from 1 lemon

1. Adjust oven rack to middle position; heat oven to 375 degrees. Cut 18-inch length foil and fold lengthwise to 8-inch width. Fit foil into length of 13 by 9-inch baking dish, pushing it into corners and up sides of pan; allow excess to overhang pan edges. Cut 14-inch length foil and fit into width of baking pan in same manner, perpendicular to first sheet. (If using extra-wide foil, fold second sheet lengthwise to 12-inch width.) Spray foil-lined pan with nonstick cooking spray.

2. Using food processor, process flour, granulated sugar, and salt until combined, about 5 seconds. Scatter 16 tablespoons butter pieces over flour mixture and pulse until mixture resembles damp sand, about twenty 1-second pulses.

3. Measure 1 1/4 cups flour mixture into medium bowl and set aside; distribute remaining flour mixture evenly in bottom of prepared baking pan. Using hands or flat-bottomed measuring cup, firmly press mixture into even layer to form bottom crust. Bake until edges begin to brown, 14 to 18 minutes.

4. While crust is baking, add brown sugar, oats, and nuts to reserved flour mixture; toss to combine. Work in remaining 2 tablespoons butter by rubbing mixture between fingers until butter is fully incorporated. Pinch mixture with fingers to create hazelnut-sized clumps; set streusel aside.

5. Combine preserves, raspberries, and lemon juice in small bowl; mash with fork until combined but some berry pieces remain.

6. Spread filling evenly over hot crust; sprinkle streusel topping evenly over filling (do not press streusel into filling). Return pan to oven and bake until topping is deep golden brown and filling is bubbling, 22 to 25 minutes. Cool to room temperature on wire rack, 1 to 2 hours; remove from baking pan by lifting foil extensions. Using chef's knife, cut into squares and serve.

9.25.2010

IPC's Women of the Church


Each year in September, IPC's women of the church (WOC), gather to share some of the ministries the ladies are involved in. This year, we had the privilege of hearing from Shirley Parker, who conducts bi-weekly bible studies through Coastal Jail Ministries; Fef Nolen, who helps with Living Vine, Christian Maternity Home; and Patty Brodmann, who takes flowers to shut-in members every week.

I was greatly encouraged by these women who take their busy time to give and share their lives with those who are in need, making this a little brighter place as we journey through this land.

There were over 110 ladies who attended this gathering and what better way to meet than over a cup of tea?

And a beautiful luncheon?

We began our lunch with Jina's Spinach Salad and Chicken & Pecan Quiche, with her sweets following.

Lemon Tea Cakes

Coconut Mini Muffins and Chocolate Scones with chocolate cream.

Minted Brownies

Scottish Shortcakes with Chocolate Ganache


It was a time of refreshing....

We were truly blessed by labor of love of many women who were involved to make this event truly beautiful:

Jina Breazeale (aka the Tea Lady) with her incredible gift of baking amazing desserts,
Carolyn Hodges with her special touch of decorating,
Susan Jackson with her magic with flowers, and
Alice Hendrick making thirty plus some more pots of tea...... all under the loving direction of Jane Boatright.

1 Cor. 16:18
"For they refreshed my spirit and yours. Therefore acknowledge such men (women).

Thanks, ladies.....for refreshing my soul today.

9.22.2010

Brownie with Pretzels and Toffee


I saw this recipe on the blog, Crepes of Wrath, and I knew I had to make it for my church family. The texture of the brownie was very moist, almost fudgy, and the sweet/salty combination of the toffee and pretzel was excellent. Everyone just loved this new dessert today!
Thanks, Sydney, for posting this great recipe in your beautiful blog!


The recipes calls for Heath toffee chips, but I ventured out and made Macadamia toffee. Sugar and butter is dissolved and cooked until the temperature reaches 300 degrees F. Add macadamia nuts and quickly spread on a greased foiled pan.
You have the option to sprinkle some semi-sweet chocolate chips and melt to make candy, but for the brownies, I omitted the chocolate topping.


Coarsely chop the toffee, set it aside.


Pour the brownie batter in greased, foiled pan.


Sprinkle toffee and place pretzels on top of batter before baking.

Brownie top had a glorious shine and crackling from melted toffee, accented with a pretzel. This recipe is definitely a keeper!

Easy Toffee

2 cups (1 pound) unsalted butter
2 cups (14 oz) granulated sugar
1/4 teaspoon salt
1 cup of coarsely chopped Macadamia nuts
2 cups semi sweet chocolate chips (optional)

1. Cover large baking sheet with foil and lightly spray with oil. Set aside.

2. In a large cast iron pot, combine butter, sugar and salt. Cook over medium heat, stirring until the butter is melted. Bring mixture to boil, and cook until color becomes a dark amber, and the temperature has reached 300 degrees F. Stir frequently.

3. As soon as the reaches 300 degrees F, quickly add Macadamia nuts, stir, and pour it out on to the prepared baking sheet. Spread hot mixture thinly with a wooden spatula.

Optional: Sprinkle the chocolate chips over the top, when softened, spread the chocolate into a thin layer.

4. Cool toffee completely until set. Break into pieces and store in an airtight container.


Recipe from Crepes of Wrath with some modification:

The Baked Brownie with Pretzels & Toffee
adapted from Baked: New Frontiers in Baking

1-1/4 cups all-purpose flour
1 teaspoon salt
2 tablespoons unsweetened cocoa powder
11 ounces chocolate, coarsely chopped
1 cup (2 sticks, 8 oz) unsalted butter, room temperature
1-1/2 cups granulated sugar
1/2 cup firmly packed dark brown sugar
5 large eggs, room temperature
2 teaspoons vanilla extract
1/3 cup toffee bits (or homemade toffee)
1/3 cup crushed pretzel bits

1. Preheat the oven to 350 degrees F. Criss-cross two sheets of foil and line and grease sides and bottom of a 9×13-inch baking pan.

2. In a medium bowl, whisk together the flour, salt, and cocoa powder. Set aside.

3. Put the chocolate and room temperature butter in a double boiler and melt. Off the heat, let rest for a few minutes.

4. Add granulated and dark brown sugar. Combine well. Then add your eggs, one at a time, until completely combined. Add in the vanilla and whisk until combined.

5. With a rubber spatula, gently fold in the flour/cocoa mixture to the chocolate mixture until combined. Do not over mix. It's ok to have a little specks of flour.

6. Pour the batter into the prepared pan and smooth the top with a greased spatula. Sprinkle the toffee and pretzels over the top as evenly as possible. Bake in the center of the oven for about 30 minutes, rotating the pan halfway through the baking time, until a toothpick inserted into the center of the brownies comes out with a few moist crumbs sticking to it.

7. Cool in pan. Lift the brownies out of baking pan and cut into squares. Makes up to 36 squares.

Note: For taste comparison, I made another batch of brownies the next day using store bought toffee chips and hands down, brownies made with homemade toffee had better texture and flavor.

9.20.2010

Rind-less Watermelon?


"Where do you buy rind-less watermelons, Miss Kay?" Asked Benjamin quizzically as he was watching me busily cutting up a mound of rind-less, skinless fruit for Welcome SCAD Luncheon, which IPC hosts annually for SCAD and other college students. "Where else? Sam's Club, Benjamin!" I quipped with a grin.

The truth is since I had planned for fruit salad for the luncheon (for 60) and Sunday Fellowship dinner (for 300). So fruit had to be prepped ahead for both meals. This is how we do it in IPC kitchen.

Oxygen is a foe to cut fruit. Whenever fruit is cut into smaller pieces and stored, guess what, it expels carbon dioxide, water, and heat. That is why your fruit salad gets all watery when you prepare it the day before. And worse yet, the fruit also expel ethylene, gas which accelerates ripening process, that means mushy fruit.

For pineapples, cut the crown and bottom off. Stand it vertically and using a sharp knife, gently slice off the outer skin, just close enough to cut away the eyes. Quarter the pineapple, then cut the hard core off.

Wrap tightly with plastic wrap and store in a container (to catch any liquid escaping, if any) up to three days in the refrigerator. On the day of serving, unwrap the plastic, and cut fruit into bite size.

For cantaloupes, watermelons, and honeydews, prep similarly. Cut top and bottom of the fruit, and thinly slice off the rinds. See the slight curve as the knife cuts downward?

Halve the melon then scoop out the seeds with a spoon.

Again, prepped halves are wrapped tightly in plastic wrap and store in a refrigerator up to ideally two days, but not more than three.

On the day of the event or meal, the fruit is cut into smaller pieces. Layer the cut fruit in a clear bowl or a serving dish and do not mix! Fruits like Kiwi and pineapples have high acid and sugar content that mixing will bruise and soften other cut fruits too quickly.

I don't wash berries like strawberries, raspberries, or blueberries until ready to use. Grapes can be stemmed up to two days in advanced, washed and stored in baggies and refrigerated.


And this is how fruit salad is made for our church meals, fresh and never mushy.

A quick recap:
*Cut away rinds and skins
*Store prepared fruit in sealed plastic wrap up to 2-3 days, depending on fruit
*Cut fruit into smaller pieces on the day of meal/event
*Layer the fruit, do no mix

9.14.2010

Planning A Dinner Party for 32


This past weekend, I catered a dinner party for 32 people that my two very special friends hosted. And since my husband and I were invited as guests, too, my hostess friend gave me a challenge. She wanted dinner buffet to be served all room temperature. Not because she loves her food lukewarm, but she wanted me to sit down with friends and enjoy the meal. I was so grateful for her thoughtfulness!

So here is the menu and how I planned ahead so I could join the party, too!


Appetizers:
Crunchy Fried Shrimp
Sundried Tomato and Pesto Torta with Crostini (click here for recipe)

On Buffet Table:
Baked Whole Salmon (click for Recipe)
Beef Tenderloin served with Horseradish Cream
Grilled Vegetables with Tri-color Rotini
Blanched Asparagus with Fried Vidalia Onions
Yeast Rolls (click for recipe)

Dessert:
Salted Caramel Ice Cream (click here for recipe)
Assorted Homemade Cookies


Grilled Veggies

Homemade Yeast Rolls


Beef Tenderloin grilling on TEC infrared grill.

Blanched Asparagus topped with fried Vidalia onions

Baked whole salmon

And everyone's favorite, Salted Caramel Ice Cream

Here is what I did so I could sit down and enjoy the meal and my friends.

I know there are several details I have not written here, but do you will see how much freezing was done ahead for this menu.

And no prep was done on the day of the party. The day of the event should for be last minute grilling/frying, cooking, and garnishing, so you can have creative touches on your dishes and have plenty of strength left to be a gracious hostess!


After bulk of grocery shopping is done,

5 days prior or earlier:
*Make yeast rolls and freeze
*Prep shrimp, wrap in wrappers and freeze
* Make ice cream and freeze
* Make cookie dough and scoop into balls and freeze

3 days prior:
*Make Pesto torta and refrigerate
*Make horseradish cream and refrigerate


2 days prior:
*Bake salmon and refrigerate
*Purchase veggies for grilling
*Purchase beef tenderloin, have the butcher trim and tie for you to save time

1 day prior:
*Wash, trim, prep all veggies
*Blanch asparagus and refrigerate
*Cook rotini, refrigerate
*Spring roll fillings prep and refrigerate
*Decorate and garnish salmon
*Set the buffet table, serving platter ready

On the Day of Party:
5 hours prior
*Take out rolls to thaw and rise
*Bake cookies & set aside

3 hours prior
*Grill veggies & slice
*Fry onions
*Bake rolls

2 hours prior
*Grill beef tenderloin, let rest well & slice an hour before party
*Put asparagus on platter, top onion last minute before serving

1/2 to 1 hour prior
*Fry shrimp and keep warm in lowest temperature in oven
*Lay out all the food on buffet table
*Begin rolling spring rolls, set aside covered with plastic wrap
*Appetizers on platters

Guests arrive and party begins!

9.12.2010

How to Garnish a Whole Baked Salmon


This is the second part of "How to Bake a Whole Salmon" tutorial. Click here for Part 1

It took me awhile to figure things out to decorate and garnish the salmon properly. The very first time I garnished the salmon back 14 years ago, my aerospace engineer husband said, "The scales are on backwards!" What? *cringe* Sure enough, but I did not have the time to re-do it so I took it to the catered party anyway. But the whole time, I just prayed that my hostess and her guests would not notice the backward scales!

Now the fish is well chilled, it will be very easy to take off the skin. But first, slice the cucumbers.

You will need one English seedless cucumber. No substitution. Peel only half of the circumference of cucumber. Setting the blade of Japanese mandolin slicer to the narrowest setting, slice the cucumbers as thinly as possible. You will need to rotate the cucumber after you run the cucumber down the blade a few times, so you will have round, not oval slices. Cucumber slices should be thin enough to be almost transparent but not torn. Set aside.

Note: I wanted to avoid using mayo as many recipes required to glue the cucumber slices. These thin slices will easily adhere to the fish meat.

Using sharp edged scissor, cut around the dorsal fin, around the tail, and the head. You want to leave the dark skins on these three parts.


Peel off the skin, which is somewhat rubbery and very easy to peel.


Taking a sharp blade of the knife, gently scrape off dark fat off the sides. You do not need to be meticulous about taking the fat off. Cut off the two side flaps which were used as the bases to keep the fish upright during baking.

Now the tricky part is for you to move the fish from baking sheet to a serving platter. Slide your left hand under the head and toward the middle of the fish while your right hand supporting the tail end. Quickly and carefully transfer the fish onto the platter, ensuring the fish will stay intact. Put all skins and fat remnant in foil and discard.

Note: Choose a serving platter that will fit easily in your refrigerator before you transfer the fish.


Here is what the fish should look like when the skin is off and fat is scraped.


Taking the smaller pieces of thinly sliced cucumbers first, begin adhering the slices starting from the tail end and top to bottom. This way you will not have a fish with scales on backwards.

See how the slices with green edge is toward the tail? And don't worry about the slight crack on the body, they will be all covered up.


You will need to cut and form the cucumber slices around the head and dorsal fin.

Gently lift the top layers of the cucumber and insert more rounds to fill the gap on the top.

Now that I am looking at what I have done in this photo, the cucumber slices could have been spaced a little bit more evenly, but you get the idea. The eyes turn completely white when they are cooked so let's give him some better looking eyes.

You you will two whole grapes. Cut the grapes 1/3, discarding the stem ends. Using a sharp knife, take out the white eye balls and insert the grapes in. Gently push the grapes until eyes look somewhat natural. The fish is already staring at you anyway, but we are not having buggy eyes staring, are we?


Use Italian parsley, asparagus fern, or any non-poisonous green leaves to cover the base of the fish. Garnish with flowers, lemons, or anything that may go with your party theme. Cover well with plastic wrap and refrigerate until ready to serve.


How to serve the fish: After your guests ooh and aah over the fish, take a sharp boning knife and from the top, deeply cut along the just right or left side of the back bone from head to tail. Then from the side, cut perpendicular to the back bone in 1 inch segment. Have a large fish fork available.


To garnish a Whole Salmon you will need:
1 whole English cucumber, seedless (get another one as a spare, it will take some time to get the slices just right)
2 grapes
Italian parsley or any non-poisonous green leaves
Lemon or lime slices for garnish

Special Equipment:
Japanese Mandolin Slicer or any other slicer (just be very careful while using!)
Vegetable Peeler
Sharp Knife
Scissors

Well, I hope you will try this at your next party!

I begin two days prior to the event because as you know, there are so many details which need to be done on the day of the party.

Two days prior to party : Bake the fish and chill.
The day before party: Decorate and garnish.